PREPARING TO INSTALL YOUR NEW DOOR HANDLE
Before you set to fit a door handle, there are several factors beyond the style or finish to consider:
- For example, where will you be installing your new door handle?
- Will you also need to install a latch or a lock?
- Does the size of your new handle cover any marks or scratches left by an old handle?
- Will you need to fit more than one handle?
- Do your doors need to be accessible for young children or more senior family members?
LOCATION
Where you will fit your new door handle is an essential factor to consider when planning your door handle installation. Your doors throughout the home vary in the level of security they need. For instance, your interior door handles do not need to be as secure as your exterior handles.
In addition, internal door handles do not need to withstand the elements like your external handles. However, they still need to be secure, offering protection to your home and your belongings.
Your external door handles will need to be durable to endure the elements. They will also need to be secure and comply with any industry standards to prevent unwanted access to your home.

LOCKS & LATCHES
Doors throughout your home will require a lockable function, so it is crucial to consider the location of your door handle here too.
EXTERIOR DOORS
Your exterior door handles will most likely require a robust mortice lock and potentially additional fixtures such as a nightlatch.
INTERIOR DOORS
Alternatively, your internal door may only require a latch to keep the door closed but not locked.
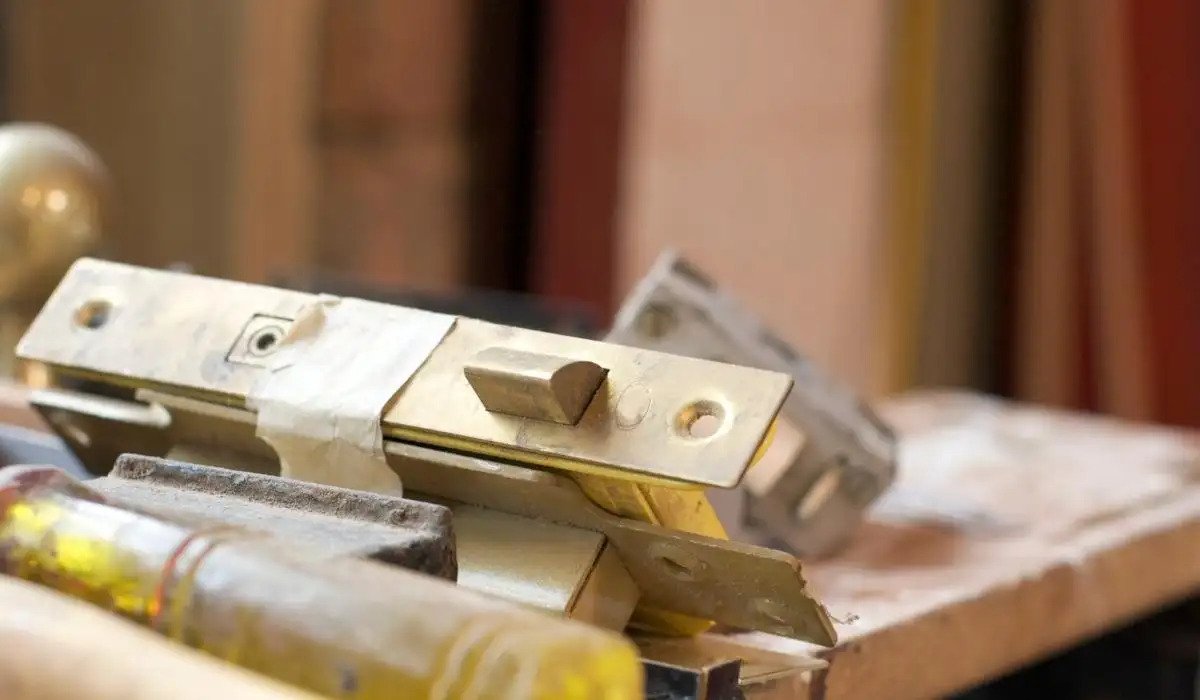
Latches are vital for keeping doors closed. They achieve this by sitting inside the door’s edge for a flush fit and keeping the door shut by connecting the latch bolt into a complimentary strike plate set within the door frame.
A latch will stop the door from opening on its own, ensuring that you can still open the door using the door handle or doorknob.
BATHROOM DOORS
Except for your bathroom, most internal doors will require a latch. Your bathroom will require a specific bathroom lock, paired with a thumbturn and release lock to keep your bathroom private when in use.
Simple fixings, like thumbturns, are an excellent method of adding privacy whilst still being easy to use. In addition, they offer a much safer option for families, as they prevent young children from getting locked in the bathroom.

BACKPLATE SIZE
If you are looking to replace a door handle instead of fitting a new one from scratch, it is essential to get the measurements of the backplate size for your current handle.
This measurement is to ensure that your new handle will cover any marks or scratches from view.

MULTIPLE DOOR HANDLES
Unless you are simply replacing a single door handle, you may fit multiple handles throughout your home. In this case, door handle packs will save you precious time and effort in hunting for matching door accessories.
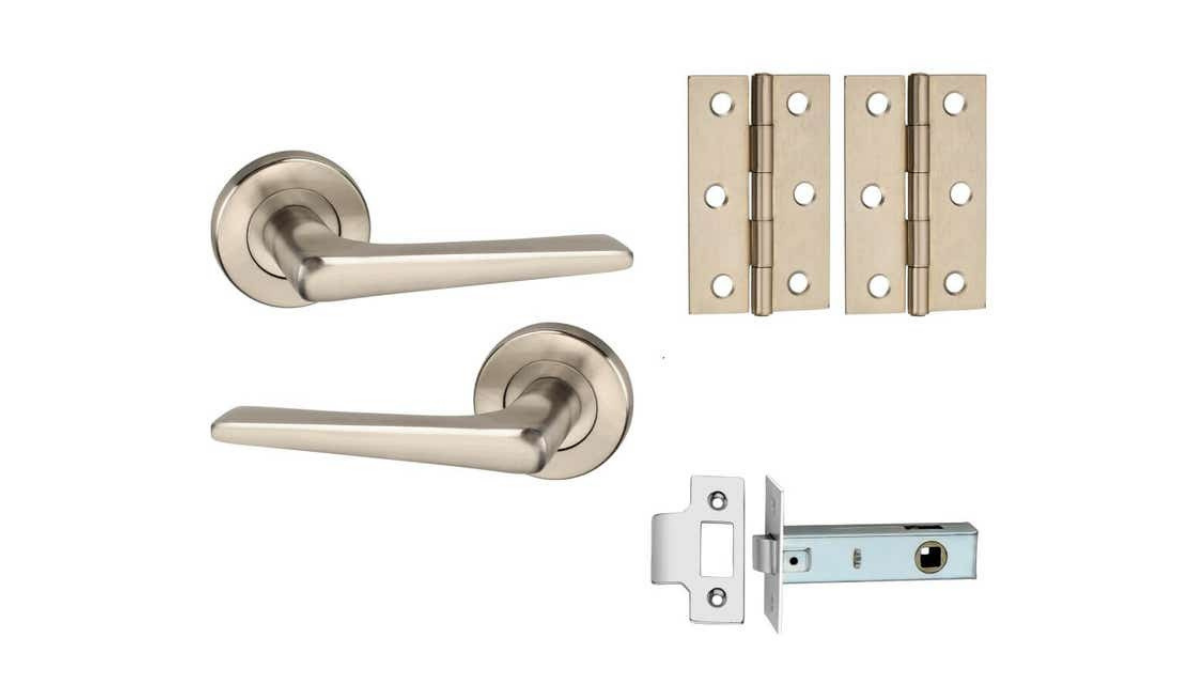
Door handle packs include complimentary accessories, such as hinges and a latch to accelerate installation.
Not only can door handle packs save you time and effort, but they provide an economical alternative to buying multiple handles. They save time, money, and effort because you receive everything you need in one purchase.
Our Contour Lever on Rose Door Handle Pack is seen below in a stylish Brushed Nickel finish. The Contour Lever on Rose Door Handle provides the ideal finishing touch for your internal doors, adding a discreet, minimalistic style to your home.

ACCESSIBILITY
Ensuring the rooms within your house are straightforward to use is vital when wanting your home to be family-friendly.
Accessibility needs to be a particular consideration for homes with young and older members who may struggle to grip specific handle designs.
In this case, opting for easy-to-grip designs and lighter builds will make interior doors accessible for every family member.

MARKING THE PLACEMENT OF YOUR DOOR HANDLE & LATCH
Once you have chosen the right door handles for your home, it is time to prepare to place your handle on the door.
Figuring out where on the door to correctly position your door handle is vital. The most common height for a door handle is 1 metre or 100cm above the floor. However, following standard UK regulations, all door handles must sit between 90cm and 105cm from the floor.
Follow our quick guide to figure out the ideal position for your new door handles.
- Place the end of your tape measure on the floor and measure up 100cm.
- Mark this point your door’s edge with a pencil.
- Using a set square, draw a line around the door at the same height.
- This line is where the latch will sit, and it will guide you to make sure your door handle is straight.
- Measure the depth of the latch:
- Measure the outside edge of the door to the centre of the spindle hole on your tubular latch.
- This measurement is your backset measurement (or the depth of the latch).
- Classic door handles require a latch with a 45mm backset (64mm case size) or a 57mm backset (76mm case size).
- We recommend a tubular latch with a backset of 57mm (76mm case size) for doorknobs.
- Mark this point on the door.
- This mark will be a guide on where to drill your pilot holes.

INSTALLING YOUR NEW DOOR HANDLES
Now that you have your new handles and the necessary measurements, you are ready to learn how to fit a door handle.
Please note, the following instructions are for fitting a door handle to a brand-new door. Please read our previous article for replacing an existing door handle: Replacing Old Door Handles – A Detailed How-To Guide.
The following instructions outline how to fit a door handle with a tubular latch.
WHAT YOU WILL NEED:
- Two door wedges
- Tape measure
- Screwdrivers (various heads)
- Wood chisel
- Hammer
- A drill
- 25mm spade drill bit
- Small pilot drill bit
- Dust sheets
INSTALLATION INSTRUCTIONS:
STEP 1: COVER THE AREA AROUND THE DOOR WITH DUST SHEETS.
- Dust sheets will prevent your floor from getting dirty with dust and wood chips.
STEP 2: WEDGE THE DOOR OPEN FROM EITHER SIDE WITH A DOOR WEDGE.
- Using door wedges will help prevent the door from moving whilst you are working.
STEP 3: USE A 2MM DRILL BIT TO DRILL PILOT HOLES IN THE DOOR’S FRONT, BACK, AND NARROW PORTIONS.
- Make sure to keep your drill level with the floor. Doing this will help to avoid causing visible damage to the door.
- These pilot holes will make it easier to drill in screws later.
STEP 4: CREATE A CIRCULAR HOLE, OR SPINDLE HOLE, IN THE OUTER EDGES OF THE DOOR USING A 25MM SPADE DRILL BIT.
- Drill two spindle holes on the front and back of the door to meet in the middle.
- The spindle holes are where you will eventually insert the door handle.
STEP 5: APPLY A SMALL PIECE OF BRIGHTLY COLOURED MASKING TAPE AROUND THE DRILL BIT.
- Apply masking tape to match the depth of the latch.
- Using this tape trick will stop you from drilling deeper than necessary.
STEP 6: NEXT, USE THE 25MM DRILL BIT TO DRILL A HOLE INTO THE DOOR EDGE.
- Take care when drilling this hole, as this area is smaller.
- Stop drilling when you reach the depth marked on your drill by the masking tape.
STEP 7: TRACE AROUND THE LATCH’S FACEPLATE ON THE EDGE OF THE DOOR WITH A PENCIL.
- You can do this easily by setting the latch into the hole at the edge of the door.
- Be specific with your tracing.
- Erase marks that do not fit the outline.
STEP 8: CARVE OUT THE FACEPLATE OUTLINE USING A CHISEL AND HAMMER.
- Hold your wood chisel at a 45° angle and carve to the correct depth.
- Use the pressure of your chisel and your hand to get rid of the wood in your outline.
- Place the latch back into the edge of the door and ensure the faceplate fits flush into the chiselled area.
- If the faceplate does not sit flush with the edge of the door, adjust with your chisel until it does.
STEP 9: SCREW THE FACEPLATE INTO THE DOOR’S EDGE.
- Use the screws that came with your purchase.
- Attach the faceplate of the latch to the door by drilling your screws into place.
- Be careful to screw into the pilot holes that you made earlier.
STEP 10: PLACE THE SPINDLE THROUGH THE CORRESPONDING HOLE IN THE DOOR.
- Slide one of your new door handles onto the spindle.
- Check that you have placed the handle in the correct place.
- Before drilling into place, make sure that each handle fits into the spindle.
STEP 11: DRILL INTO THE PREVIOUSLY DRILLED PILOT HOLES TO SECURE THE HANDLES TO THE DOOR.
- Once each handle is attached, pull down on the lever to ensure they work properly.
- If the door handles are not working correctly, unscrew them and double-check that they fit the spindle.
STEP 12: FASTEN THE STRIKE PLATE INTO THE DOOR JAMB.
- Arrange the strike plate to match the faceplate and use a 2mm drill bit to drill holes.
- Insert the two screws provided in your purchase into the top and bottom of the strike plate.
- Drill the screws into place.
STEP 13: CHECK YOUR WORK.
- Shut the door to ensure you have fitted the strike plate correctly and that there is nothing out of alignment with the door closed.


